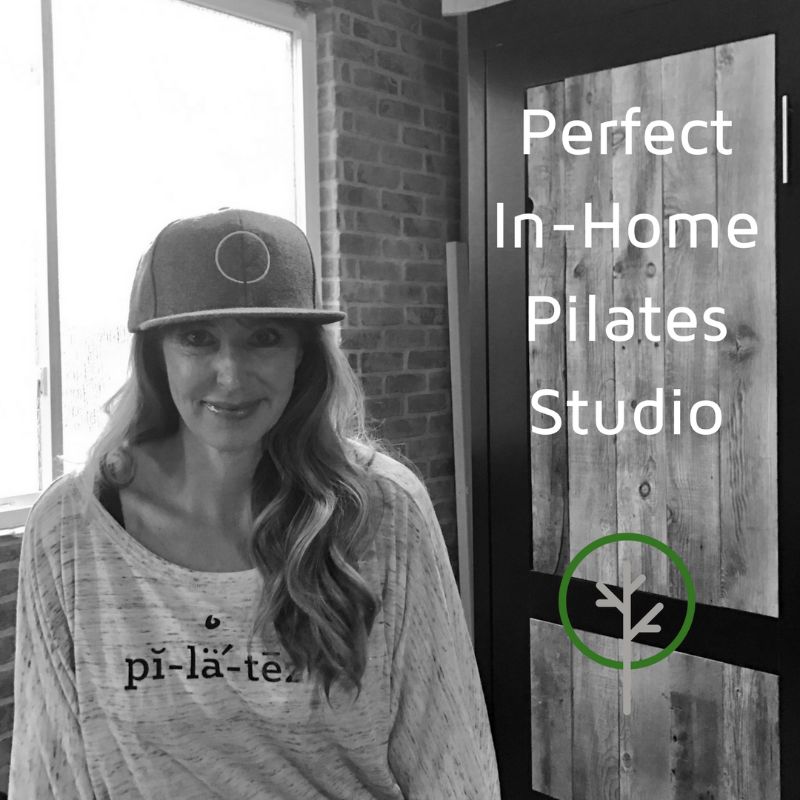
A home studio is uber desirable in today’s culture. Who doesn’t want a legit gym in their house? It adds value, uniqueness and is especially prime real estate when it doubles as a guest room with a cool NYC brick-loft feel. I converted our guest room (which had a wall bed in it), so I didn’t lose a room, I just gained a Pilates studio. Do the math, too, on expensive Pilates equipment classes, and you’ll discover the concept is a great investment that quickly pays for itself.
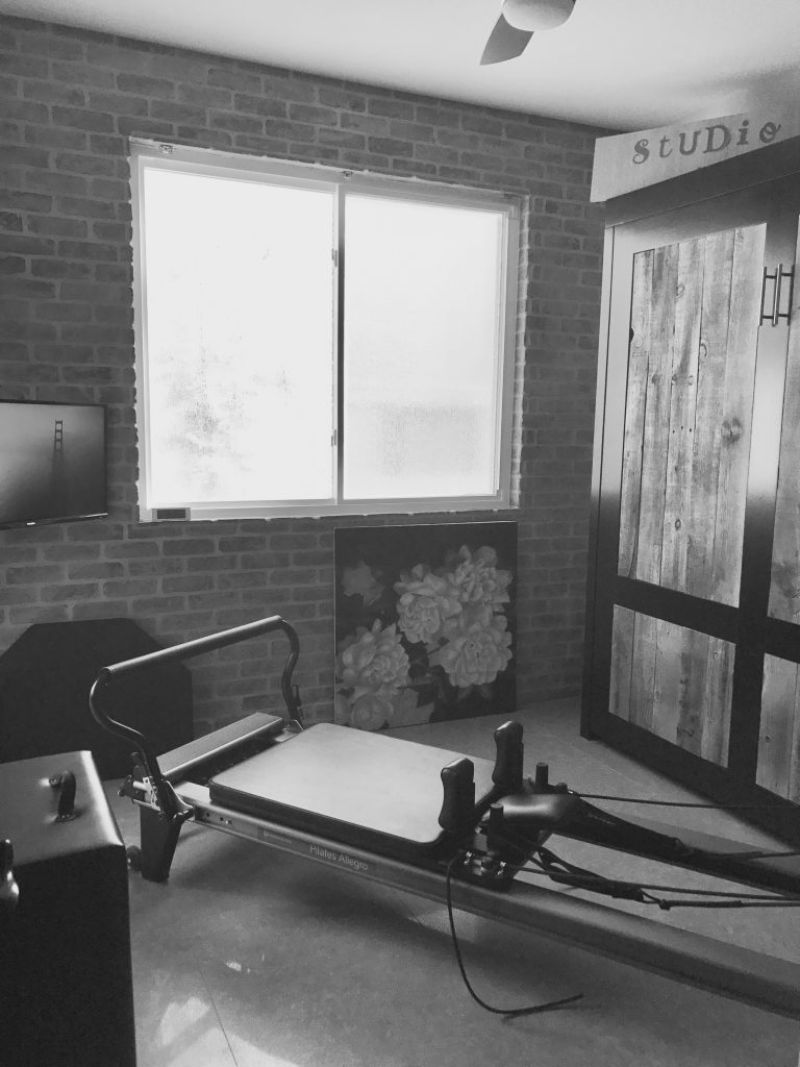
Building my home Pilates studio was one of the best things I’ve ever done. It’s wildly liberating; I can make class on my time. It’s just a short walk downstairs (no fighting for a gym parking spot). It lets me do workouts for my body. And I can cue up a Pilates app class anytime, or listen to a favorite podcast or whatever music I want. Plus, no one else sweats on my machine (am I right?). Prior to building my studio, I was a dedicated Reformer gal at my fitness club three days a week, but I just got too busy to make the limited class schedule.
A Pilates studio isn’t a trendy fitness craze that you’ll get over in no time either. You’ll spend years perfecting your form and knowledge, so having a studio in your home is something you can use for decades to come—without injury. Pilates Reformer is a very specific form of fitness, and the benefits are endless. I’ve heard it called the most sophisticated form of fitness, and I couldn’t agree more. Originally Pilates was called Contrology by creator Joseph Pilates in the 1930’s for its specific nature and resistance. It’s truly a lifestyle.
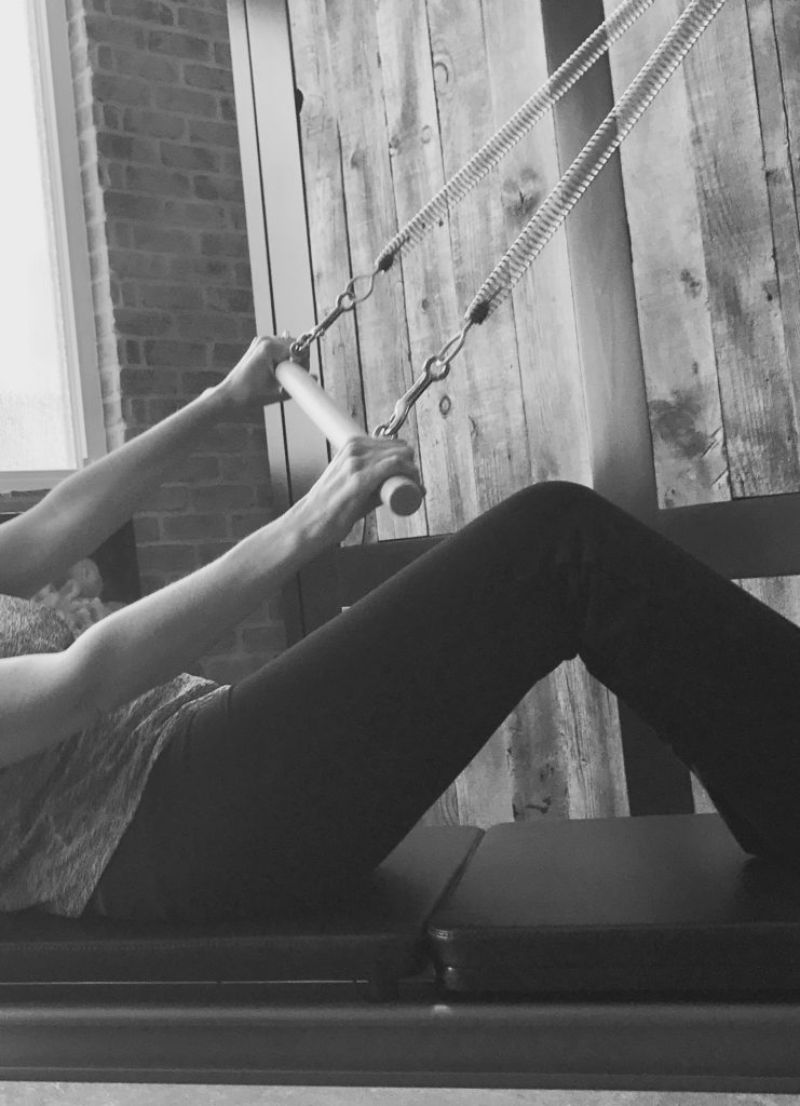
My teenage daughter also uses our studio often, and my younger son is ‘growing up Pilates’ himself with a fascination of the equipment and a jump on the springs whenever he can. A Reformer is the Peloton of Pilates I like to say—in your home, on your terms, around your family’s life.
SO HERE ARE 8 STEPS TO BUILDING YOUR OWN STUDIO
1. Start fresh. Like all great design projects, pull everything out of your space first and see exactly what you have to work with. Get rid of all the clutter, and go big on brooming things. Pilates requires space and a clear mind.
2. Equip your studio. Choose the right equipment. I went with a Balanced Body Reformer and I also got the Tower—the exact machine that I did Pilates on at my gym’s studio; the Allegro Reformer 14″. Measure your equipment in comparison to your room. Remember to give yourself room to walk around the machine, and include space for the props you might add too (the box, balls, weights, etc.). Also, if the room will double as a guest room at times, choose a Reformer that is easy to disassemble. The wooden Reformers are pretty, but they don’t come apart. My breaks down easily into two pieces with a screwdriver.
3. Get inspired. This may be the biggest step—create a space that you want to go in and workout in several times a week. I added the brick wall for legitimacy (because, well, Flashdance—every fitness studio needs a brick wall I figured). And I added cement-look flooring. I wanted my studio to be the real deal so that I wouldn’t miss the nice studio feel at the gym. One thing I was sure was: I didn’t want to be working out in my living room, around furniture, upstairs next to the master bed or in my garage without A/C), etc.
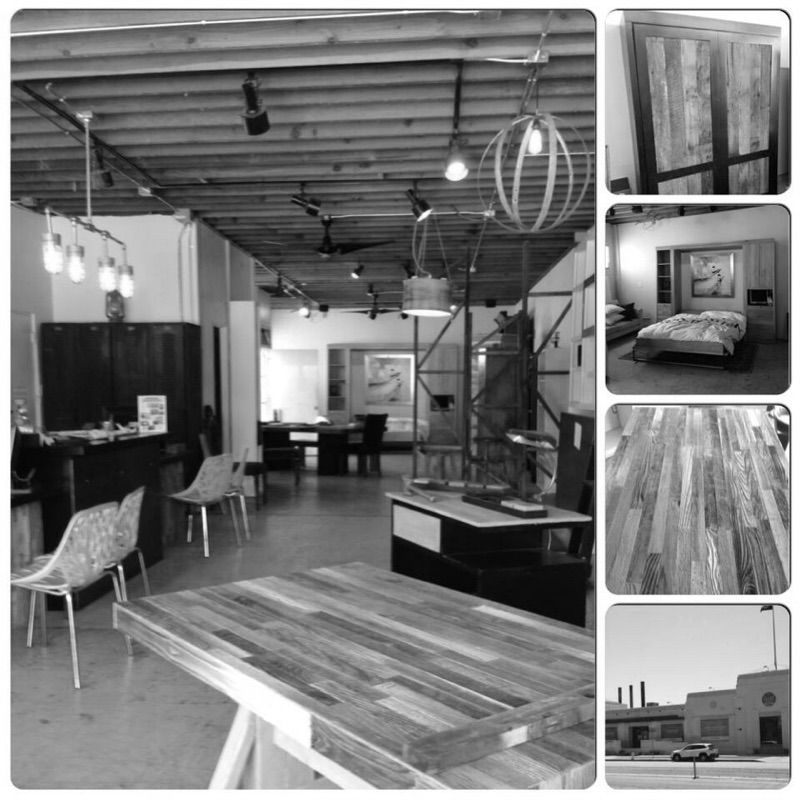
4. Think cohesive design. Make sure any permanent items in the room (wall bed, lamps, lighting, tables etc.) all match the essence of your studio. Our artisan-made reclaimed wood wall bed fit right in. We had it made in L.A. a few years ago in West LA across from The Helms (now The Mod Barn, formerly Arenbeology), and we love ours. They have very cool, current looks (versus the plethora of dated, uninspired Murphy beds in the marketplace).
5. Add privacy. When you’re working out, you don’t want neighbors looking in. Consider privacy glass on your windows. When we recently put new windows in our house, I chose a rain-textured glass for my studio (inspired by the thought of sweat, of course). It lets in lots of natural light, yet I don’t see neighbors, and they don’t see me. Shrubs also outside the window also add a nice natural filter through the window.

6. Form first. Add wall mirrors to see your form (crucial).

7. Get hooked up—tech time. Consider multiple TVs for your studio (that run on Apple TV for all the app-based classes out there). I have two TVs in my studio; one I watch when facing the Reformer, and one I watch when facing the Tower. I’m not wrenching my neck to see instructors while watching classes. (I still want one on the ceiling too, if I can talk my husband into installing it). I also have an Alexa echo to play music.
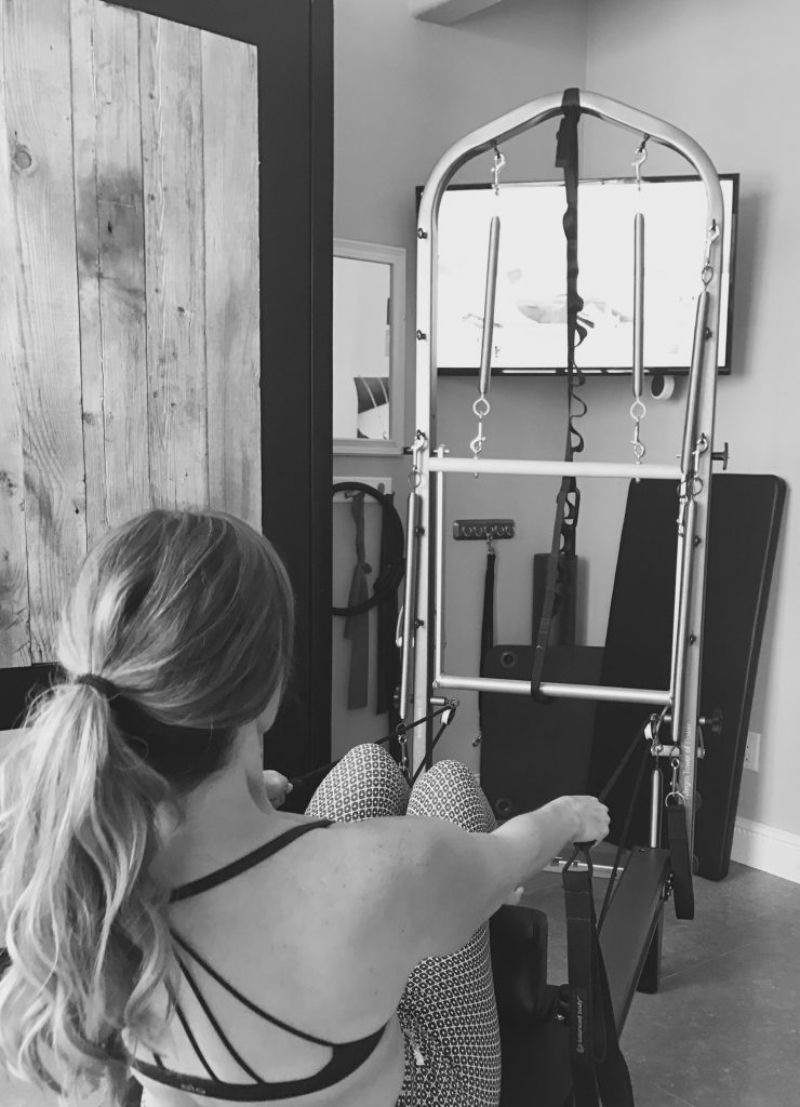
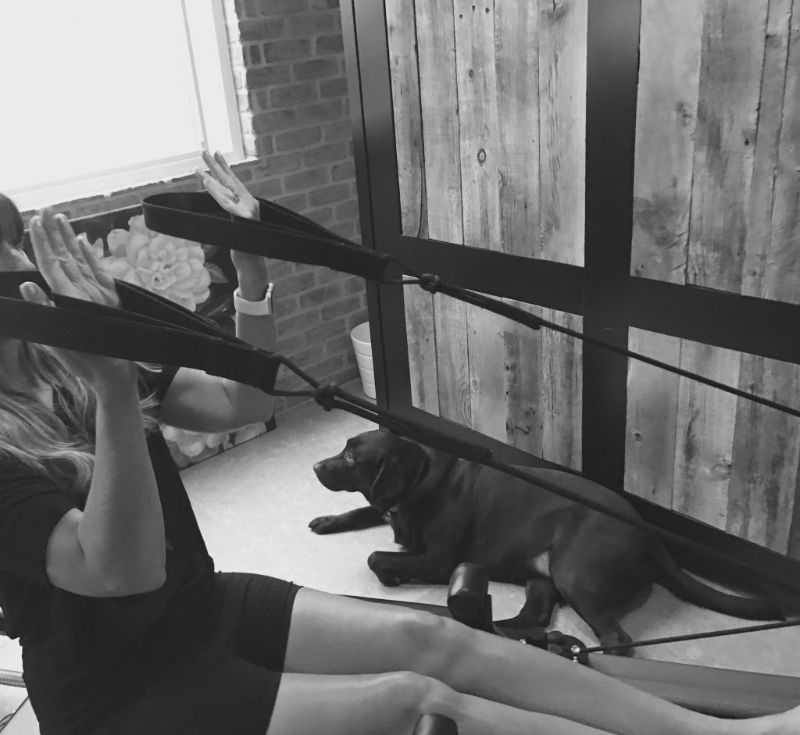
8. Enjoy your room. Get in your studio 3-4 times a week for a class, for an hour workout on your own, or even just 15 minutes for stretching or working arms or legs if you’re having a busy day. And know that your studio commitment is going to have ebb and flows like all things in life. Mix things up with new instructors, new music, new podcasts, hiring a private instructor come by to check your form once a month, and even hit a regular gym for yoga or some weights if you’re missing the community vibe. And don’t be surprised if your pets join you in the studio. Godiva here, is a pup with a Pilates spirit, I think (or she likes the cold floor). Enjoy!
ABOUT DEBBIE LAVDAS
I’m a Jane of all trades. And master at many. As a career advertising writer, I’ve written for the top ad agencies in Orange County. I also write for many Orange County magazines. Finally, I’m hired as a Social Influencer and Brand Ambassador for various local OC brands. It’s a little of this, a little of that, and a lot of love for what I do with gratitude for those I work with. Learn more at debbieintheoc.com
